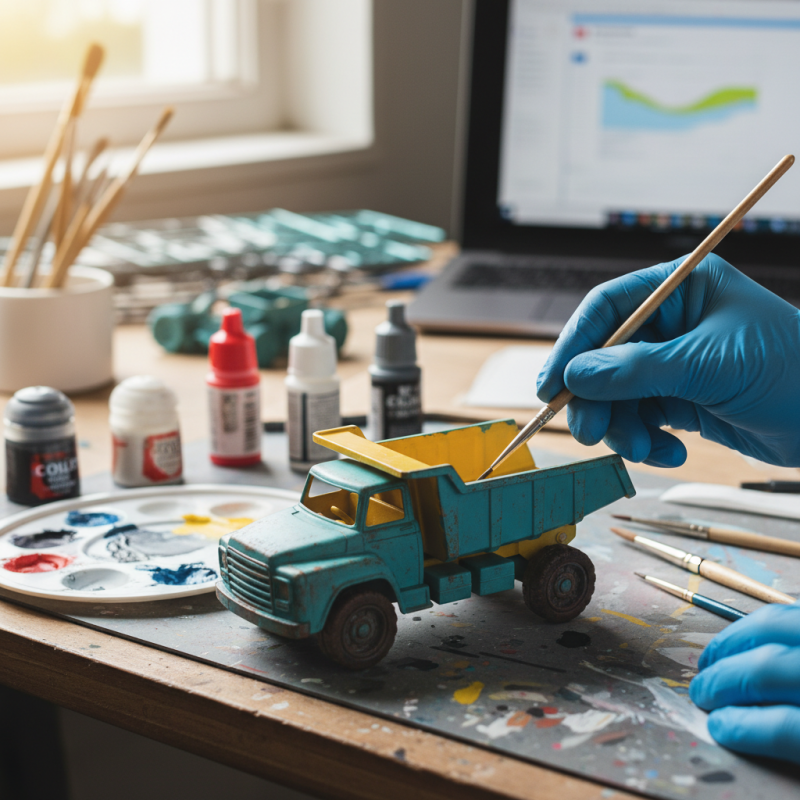
Painting a plastic toy truck can be a rewarding and creative endeavor. Many parents and hobbyists wonder, "Can you paint a plastic toy truck?" The answer is yes, with the right techniques and materials. A recent survey by the Toy Industry Association highlights that DIY toy customization is gaining traction among enthusiasts, reflecting a growing interest in unique, personalized items.
To achieve successful results, it's essential to consider the specific type of paint that adheres well to plastic surfaces. Acrylic paints are often recommended, as studies show they provide durability and vibrant color. However, not all paints are created equal. Some may not adhere properly or may chip easily. It's crucial to prepare the surface adequately. Cleaning and priming the toy truck can significantly enhance paint adhesion.
While the process may seem straightforward, challenges often arise. Paint might not stick as expected, or the finished product may not meet your vision. These imperfections can lead to valuable lessons. Embracing trial and error is part of the journey in DIY projects. With patience and practice, you can transform a simple plastic toy truck into a delightful masterpiece.
Choosing the right paint for plastic toy trucks is crucial for achieving a stunning finish. Many hobbyists often overlook this, leading to disappointing results. The American Coatings Association reports that only 25% of DIY painters select suitable materials. A well-chosen paint can enhance the truck’s appearance and durability.
When selecting paint, opt for acrylic or spray paint specifically designed for plastic. Acrylic paint is non-toxic and dries quickly. Spray paint often provides an even coat and is less likely to run. However, users must apply it in a well-ventilated area. This safety measure protects against inhaling harmful fumes.
Tips: Always clean the toy surface thoroughly. Dirt and oil can prevent paint adhesion. Test the paint on a small area. This reveals how it reacts with the plastic. If you notice peeling or discoloration, reconsider your choice. Remember, even the wrong color can spoil your project. Take your time in the selection process to prevent future frustration.
| Paint Type | Advantages | Disadvantages | Best Use |
|---|---|---|---|
| Acrylic Paint | Quick drying, water-based, easy to clean up | May require a primer, less durable outdoors | Indoor toys or items with minimal outdoor exposure |
| Enamel Paint | Durable, glossy finish, adheres well to plastic | Longer drying time, requires solvents for cleanup | Outdoor toys or items that need a tough finish |
| Spray Paint | Even coverage, quick application, available in many colors | Overspray can be a problem, requires outdoor use for ventilation | Large projects or those requiring a smooth finish |
| Fabric Paint | Flexible, bright colors, safe for children | Less durable on hard plastics, may fade over time | Soft toys or plush items |
: The right paint enhances appearance and durability. Many overlook this, leading to poor results.
Use acrylic or spray paint specifically for plastic. They provide the best results.
Clean the truck with warm, soapy water and dry it. Sand lightly for better adhesion.
Apply paint in thin layers. Allow each coat to dry completely to avoid drips.
Use a clear acrylic sealer to protect your paint. It keeps colors vibrant and scratch-free.
Wait at least 24 hours for the paint to dry before applying sealant.
Lightly sand the area and touch up as needed. Imperfections can lead to creative outcomes.
Inspect and reapply the sealant every few months for optimal protection and longevity.
Yes, high humidity can impact how well the sealant cures, affecting the finish.
Yes, testing on a small area helps you check compatibility and avoid potential issues.
If you’ve ever wondered, "Can you paint a plastic toy truck?", the answer is a resounding yes! However, effective painting begins with choosing the right paint specifically designed for plastic surfaces. Preparing the surface of the toy truck is crucial; clean it thoroughly to remove any dirt or grease, and lightly sand the surface to ensure paint adhesion.
When applying the paint, use techniques such as thin, even coats for a smooth finish, allowing each coat to dry before adding the next. After reaching your desired color and coverage, sealing the painted surface with a clear coat will enhance durability and protect your design. Lastly, caring for your painted plastic toy truck involves gentle cleaning and avoiding harsh chemicals to maintain its vibrant appearance for years to come.
